

It’s the dog days of summer again – well at least if you live in the northern hemisphere or near the equator. While many people will be happy to finally escape the long lockdown winter and are looking forward to meeting friends and family outside, intense sunlight and heat can also put extra stress on the body – and it makes for some obvious and less obvious challenges when doing videography. Here are some tips/ideas to tackle those challenges.

Find a good time/spot!
Generally, some of the problems mentioned later on can be avoided by picking the right spot and/or time for an outdoor shoot during the summertime. Maybe don’t set up your shot in the middle of a big open field where you and your phone are totally exposed to the full load of sunshine photons at high noon. Rather, try to shoot in the morning, late afternoon or early evening and also think about picking a spot in the shadows. Or choose a time when it’s slightly overcast. Of course it’s not always possible to freely choose time and spot, sometimes you just have to work in difficult conditions.

„Bum to the sun“ – yes or no?
There’s a saying that you should turn your „bum to the sun“ when shooting video. This definitely holds some truth as pointing the lens directly towards the sun can cause multiple problems, including unwanted lens flare effects, underexposed faces or a blown out background. You can however also create artistically interesting shots that way (silhouettes for instance) and the „bum to the sun“ motto comes with problems of its own: If you are shooting away from the sun but the person you are filming is looking directly towards it, they could be blinded by the intense sunlight and squint their eyes which doesn’t look very favorable. If the sun is low you also might have your own shadow in the shot. So I think the saying is something to take into consideration but shouldn’t be adhered to exclusively and in every situation.

Check the sky!
Clouds can severely impact the amount of sunlight that reaches the ground. So if you have set up an interview or longer shot and locked the exposure at a given time when there isn’t a single cloud in front of the sun, there might be a nearby one crawling along already that will take away lots of light later on and give you an underexposed image at some point. Or vice versa. So either do your thing when there are no (fast moving) clouds in the vicinity of the sun or when the cloud cover will be fairly constant for the next minutes.

Use an ND filter!
As I pointed out in my last blog post The Smartphone Camera Exposure Paradox, a bright sunny day can create exposure problems with a smartphone if you want to work with the „recommended“ (double the frame rate, for instance 1/50s at 25fps) or an acceptable shutter speed because phones only have a fixed, wide-open aperture. Even with the lowest ISO setting, you will still have to use a (very) fast shutter speed that can make motion appear jerky. That’s why it’s good to have a neutral density (ND) filter in your kit which reduces the amount of light that hits the sensor. There are two different kinds of ND filters: fixed and variable. The latter one lets you adjust the strength of the filtering effect. Unlike with dedicated regular cameras, the lenses on smartphones don’t have a filter thread so you either have to use some sort of case or rig with a filter thread or a clip-on ND filter.

Shoot LOG! (Well, maybe…)
Some 3rd party video recording apps and even a few native camera apps allow you to shoot with a LOG picture profile. A log profile distributes exposure and color differently, in a logarithmic rather than a linear curve, across the respective spectra compared to a „normal“ non-log image profile. By doing this you basically gain a bit more dynamic range (the range spanning between the brightest and darkest areas of an image) which can be very useful in high-contrast scenarios like a sunny day with extreme highlights and shadows. It also gives you more flexibility for grading in post to achieve the look you want. This however also comes with some extra work as pure log footage can look rather dull/flat and might need grading to look „pretty“ as a final result. It is possible though to apply so-called LUTs (simply put: a pre-defined set of grading parameters) to log footage to reduce/avoid time for manual grading.
Get a white case!

Ever heard of the term “albedo“? It designates the amount of sunlight (or if you want to be more precise: solar radiation) that is reflected by objects. Black objects reflect less and absorb more solar radiation (smaller albedo) than white objects (higher albedo). You can easily get a feeling for the difference by wearing a black or a white shirt on a sunny day. Similarly, if you expose a black or dark colored phone to intense sunlight, it will absorb more heat than a white or light colored phone and therefore be more prone to overheating. So if you do have a black or dark colored phone, it might a good idea to get yourself a white case so more sunlight is reflected off of the device. Vice versa, if you have a white or light colored phone with a black case, take it off. Be aware though that a white case only reduces the absorption of „external heat“ by solar radiation, not internal heat generated by the phone itself, something that particularly happens when you shoot in 4K/UHD, high frame rates or bit rates. You should also take into consideration that a case that fits super tight might reduce the phone’s ability to dispense internal heat. Ergo: A white phone (case) only offers some protection against the impact of direct solar radiation, not against internal heat produced by the phone itself or high ambient temperatures.
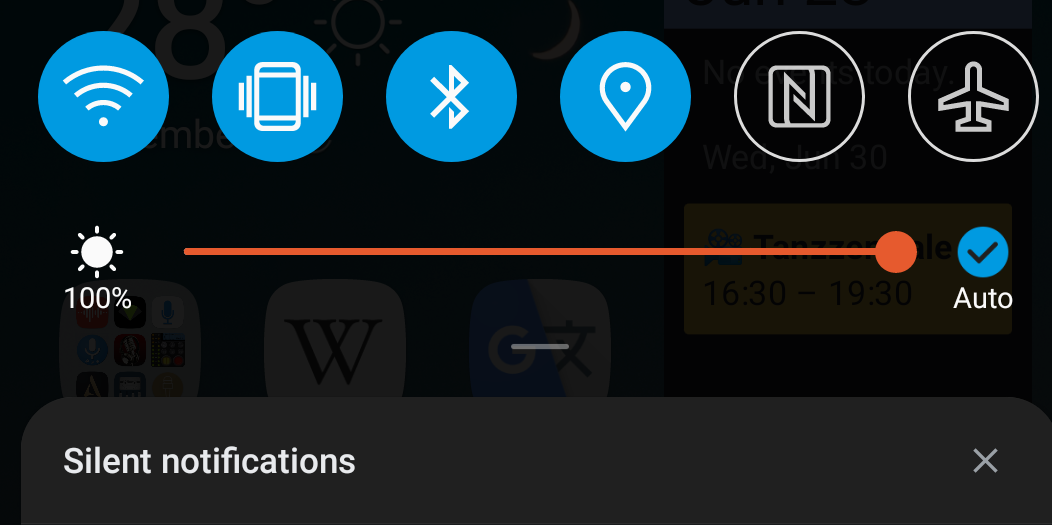
Maximize screen brightness!
This is pretty obvious. Of course bright conditions make it harder to see the screen and judge framing, exposure and focus so it’s good to crank up the screen brightness. Some camera apps let you switch on a feature that automatically maximizes screen brightness when using the app.
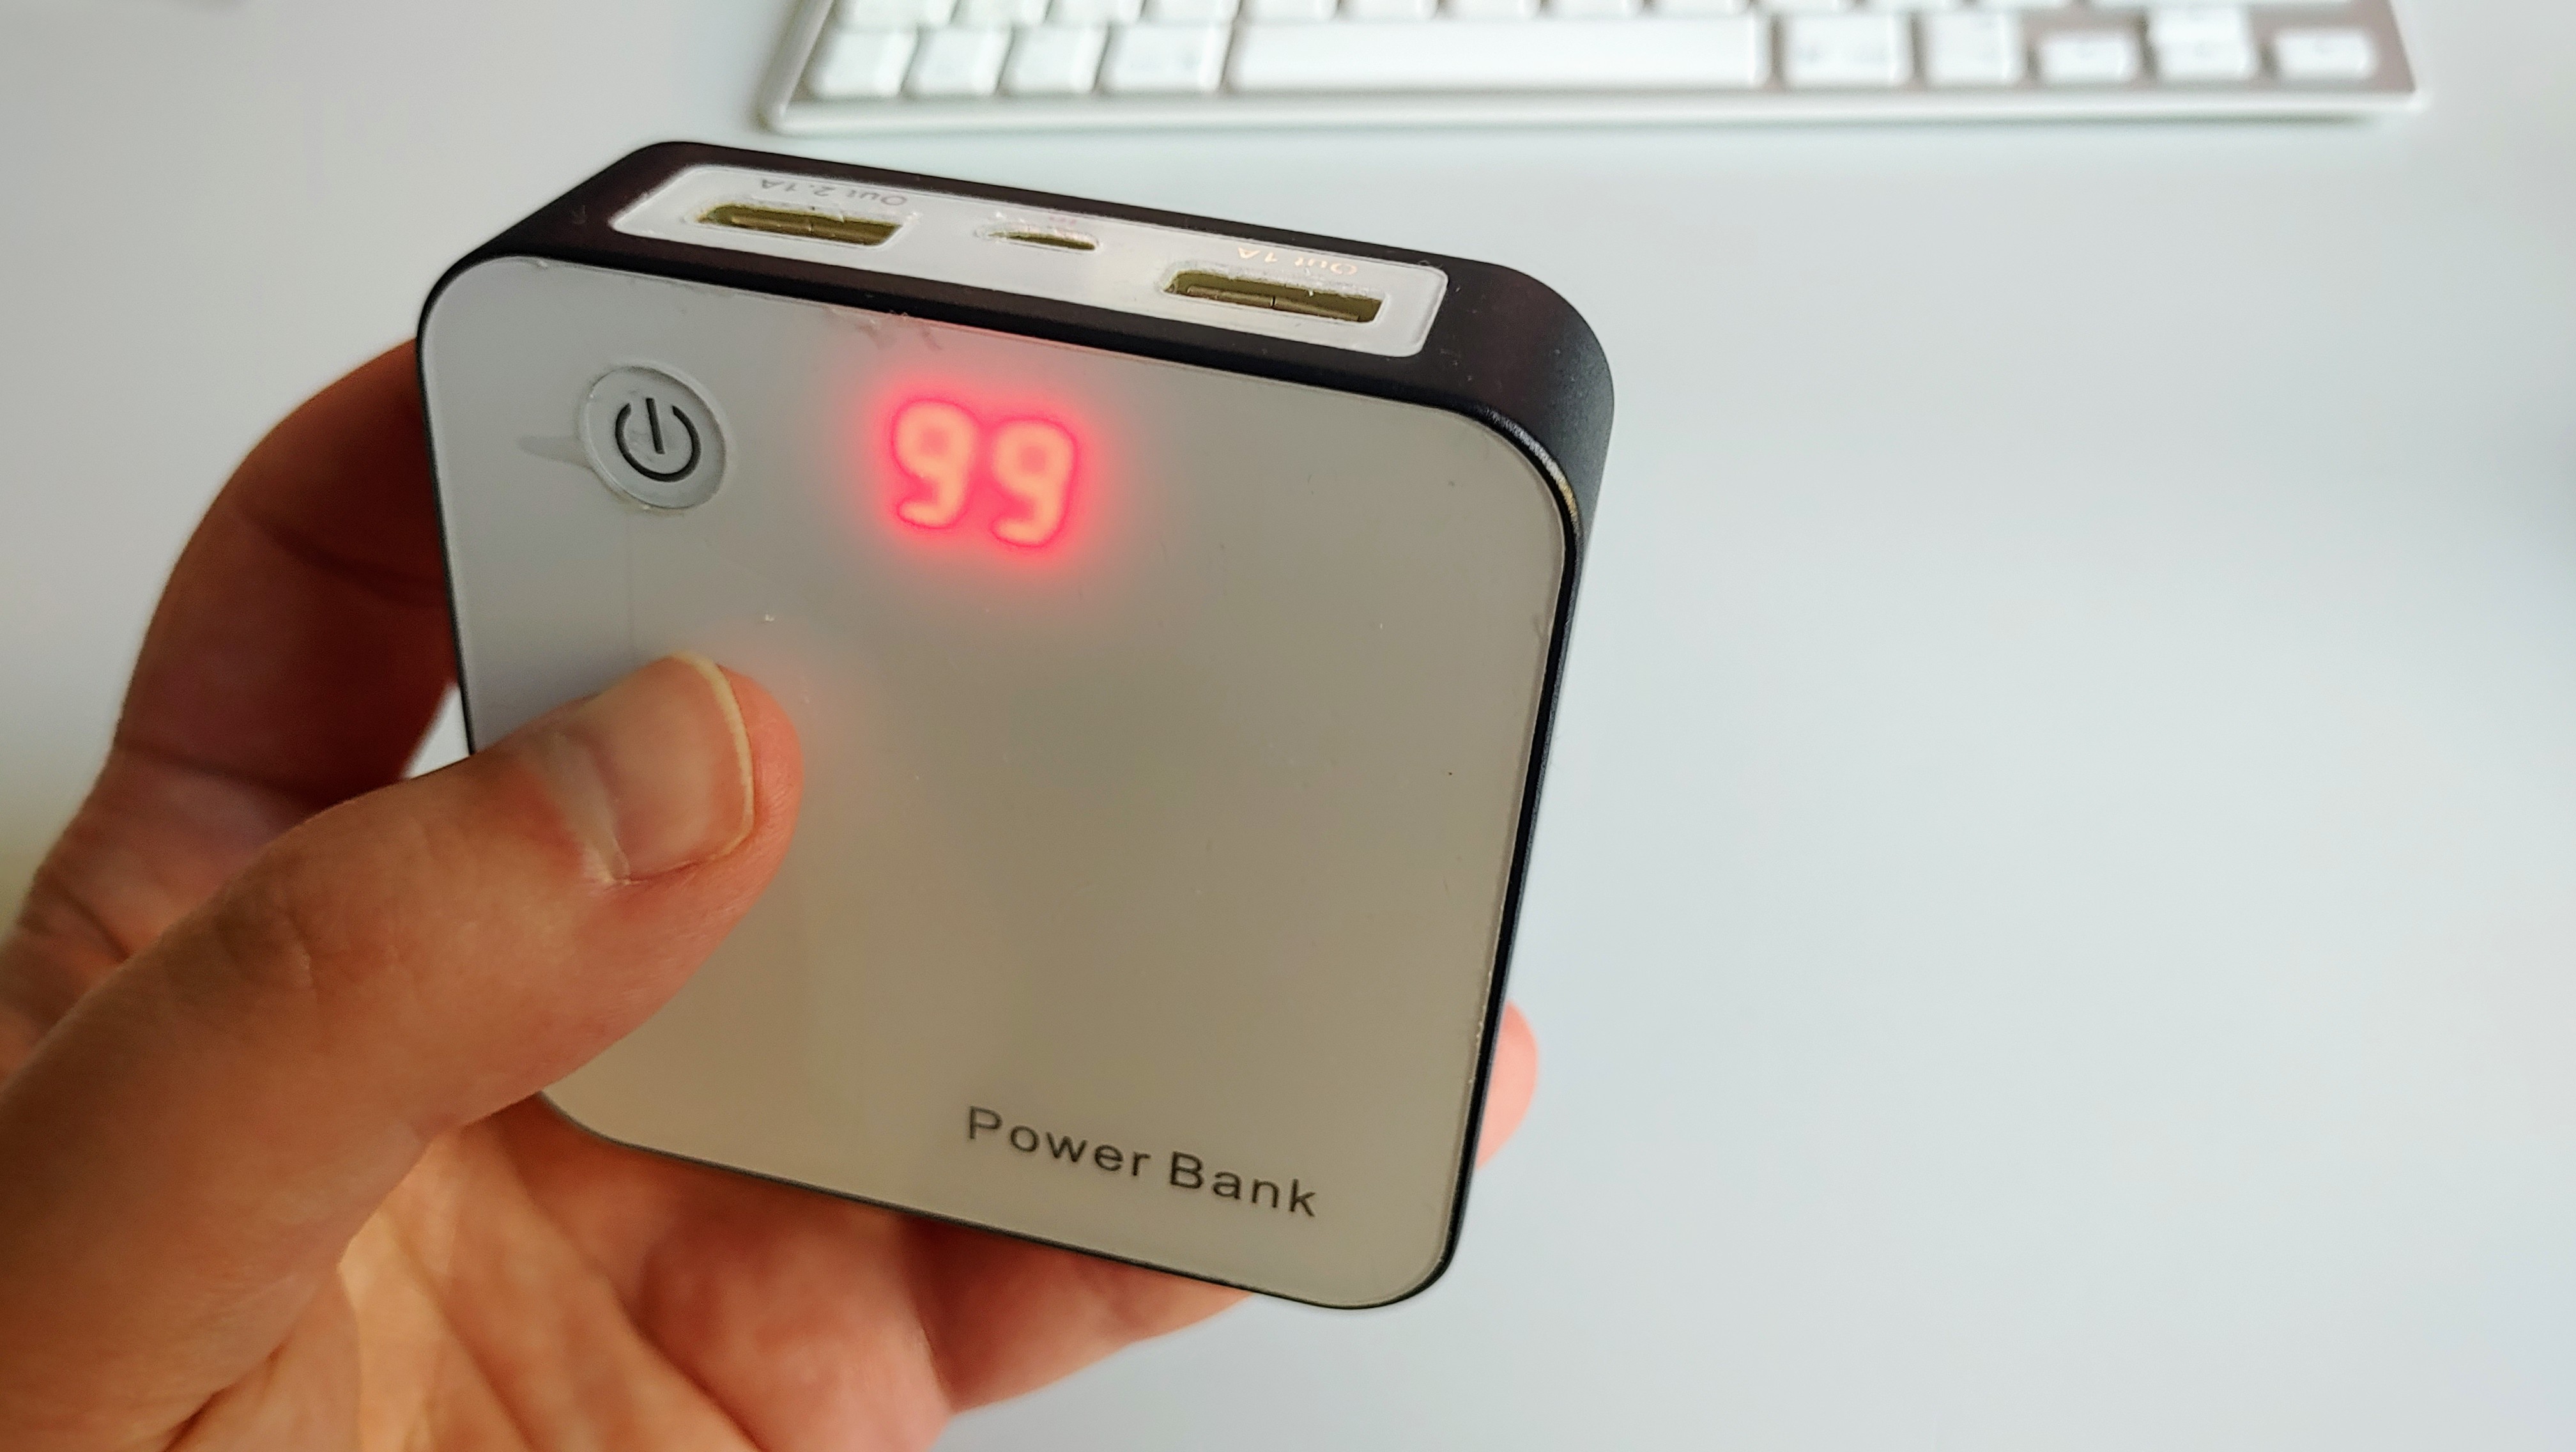
Get a power bank!
Maximizing screen brightness will significantly increase battery consumption though so you should think about having a back-up power bank at hand – at least if you are going on a longer shoot. But most of us already have one or two so this might not even be an additonal purchase.

Use exposure/focus assistants of your camera app!
One thing that can be very helpful in bright conditions when it’s hard to see the screen are analytical assistant tools in certain camera apps. While there are very few native camera apps that offer some limited assistance in this respect, it’s an area where dedicated 3rd party apps like Filmic Pro, mcpro24fps, ProTake, MoviePro, Mavis etc. can really shine (pardon the pun). For setting the correct exposure you can use Zebra (displays stripes on overexposed areas of the frame) or False Color (renders the image into solid colors identifying areas of under- and overexposure – usually blue for underexposure and red for overexposure). For setting the correct focus you can use Peaking (displays a colored outline on things in focus) and Magnification (digitally magnifies the image). Not all mentioned apps offer all of the mentioned tools. And there’s also a downside: Using these tools puts extra stress on your phone’s chipset which also means more internal heat – so only use them when setting exposure and focus for the shot, turn them off once you are done.

Use a sun hood!
Another way to better see the screen in sunny weather is to use a sun hood. There are multiple generic smartphone sun hoods available online but also one from dedicated mobile camera gear company MoondogLabs. Watch out: SmallRig, a somewhat renowned accessory provider for independent videography and filmmaking has a sun hood for smartphones in its portfolio but it’s made for using smartphones as a secondary device with regular cameras or drones so there’s no cut-out for the lens or open back which renders it useless if you want to shoot with your phone. This cautionary advice also applies to other sun hoods for smartphones.

Sweaty fingers?
An issue I encountered last summer while doing a bike tour where I occasionally would stop to take some shots of interesting scenery along the road was that sweaty hands/fingers can cause problems with a phone’s touch screen. Touches aren’t registered or at the wrong places. This can be quite annoying. Turns out that there’s such a thing as „anti-sweat finger sleeves“ which were apparently invented for passionate mobile gamers. So I guess kudos to PUBG and Fortnite aficionados? There’s also another option: You can use a stylus or pen to navigate the touch screen. Users of the Samsung Galaxy Note series are clearly at an advantage here as the stylus comes with the phone.

Don’t forget the water bottle!
Am I going to tell you to cool your phone with a refreshing shower of bottled drinking water? Despite the fact that many phones nowadays offer some level of water-resistance, the answer is no. I’m including this tip for two reasons: First, it’s always good to stay hydrated if you’re out in the sun – I have had numerous situations where I packed my gear bag with all kinds of stuff (most of which I didn’t need in the end) but forgot to include a bottle of water (which I desperately needed at some point). Secondly, you can use a water bottle as an emergency tripod in combination with a rubber band or hair tie as shown in workshops by Marc Settle and Bernhard Lill. So yes, don’t forget to bring a water bottle!
Got other tips for smartphone videography in the summertime? Let us know!

As always, if you have questions or comments, drop them here or hit me up on the Twitter @smartfilming. If you like this article, also consider subscribing to my free Telegram channel (t.me/smartfilming) to get notified about new blog posts and receive the monthly Ten Telegram Takeaways newsletter featuring a personal selection of interesting things that happened in the world of mobile video in the last four weeks.
For an overview of all my blog posts click here.
I am investing a lot of time and work in this blog and I’m even paying to keep it ad-free for an undistracted reading experience. If you find any of the content useful, please consider making a small donation via PayPal (click on the PayPal button below). It’s very much appreciated. Thank you! 🙂


One thought on “#46 Top tips for smartphone videography in the summer”
1 Pingback